Saturday, January 29, 2011

Just Some Minor Injuries and Couscous

I've spared you from some pictures in this post - primarily of my sliced fingers and a minor burn on my left index finger.  I've really been battling it out this week between kitchen injuries, sore throat, and unforgiving allergies.  There was also the flood caused by me opening the dishwasher while full of water and the burnt pans.  Burnt pans.  You read that right.  It takes someone truly special to burn something that's made to sit on fire. Basically, I have been a huge mess but managed to sew myself together to get you this post. 

What could be worth it for me to put myself together and write this post?  Feta-Chicken Couscous Salad with Basil.  It is definitely more of a summer dish, but, like I said before, I love anything that combines every aspect of a meal (Except my wine, I like to enjoy that separately as well as in the dish, even if it doesn't call for it.  I learned that from my dad). 


Feta-Chicken Couscous Salad with Basil (from Cooking Light)
1 1/4 cups water
2/3 cup uncooked whole wheat couscous
1 cup diced cooked chicken breast
1/4 cup chopped fresh basil
3 tbsp capers (rinsed and drained)
1 tbsp EVOO
1 tsp grated lemon rind
1 tbsp fresh lemon juice
2 cups mixed baby salad greens
1/4 cup (1 oz) crumbled reduced-fat feta cheese

1. Bring water to a boil in medium saucepan.  Add couscous; remove from heat; cover and let stand 5 minutes.
2.  While couscous stands, combine chicken and next 5 ingredients in a large bowl, tossing gently to coat.
3.  Fluff couscous with a fork.  Add couscous, salad greens, and cheese to chick mixture; toss gently to coat.
Yield: 4 servings (serving size: 1 cup)

I very much enjoyed this but I did add a little more lemon juice when I served it for more flavor BUT the capers really came through - dee-lish!  I'll definitely make this again this summer.  The boyfriend and I ended up eating most of it so I didn't have any leftovers.  That would be my only concern is how it would save with the lettuce in it.  It was very easy, little clean up, and plenty of flavor.  This Cooking Light book is becoming my best friend!


Anyways... Stats aren't so great this week:
Bodily Injuries: 2 sliced fingers and 1 burned finger tip
Kitchen Injuries: 1 flooded kitchen floor and 1 burnt pan
Overall Satisfaction: 8 out of 10.  Good flavor but more of a summer dish. 

Friday, January 21, 2011

Happy 60th Birthday, Mom!


I’m sure she’ll be less than thrilled that her age is posted on my blog, BUT, I have good reason to include this personal post because it has a LOT to do with food!  For the event, she had the party catered by Talk of the Town.  It was fantastic!! Her lovely cake was done by Cakes By Darcy.  Just check out the pictures of the party below.  Watch out, folks, they get crazier the older they get.
Happy Birthday Mom! 


 We had "heavy hors d'oeuvres" raning from little onion, bacon, cream cheese roll things to grilled veggies and pork with a honey mustard sauce.  DEE-LISH!


So rude, succumbing to food coma on the floor like that! 


Wednesday, January 19, 2011

Orzo Salad, The Pasta Not The Rice

Absence makes the heart grow fonder and when it comes to being in the kitchen after lock-down in the 5x12 death-trap for 4 days, nothing else seems so true.  Now I’m back and ready to work on the relationship. 

I love dishes that combine all the necessities… the meat, the carbs, the veggies.  Paella, risottos, etc, are all so beautiful and so flavorful. I wanted to try this recipe for that very reason.  When combined, all the ingredients looked so colorful, tasty, and healthy (in the cookbook).  Time to see if I could make it look and taste that great!

Lovely serving bowl thanks to Molly and Jim!!! It makes my food look good!
Salmon, Asparagus, and Orzo Salad with Lemon-Dill Vinaigrette from Cooking Light
6 cups water
1 lb asparagus, trimmed and cut into 3-inch pieces
1 cup uncooked orzo (rice-shaped pasta)
1 (1 ¼ lb) skinless salmon fillet
Salt
Pepper
Cooking Spray
¼ cup thinly sliced red onion
Lemon-Dill Vinaigrette (below)

1.       Preheat Broiler.
2.       Bring water to boil in large saucepan.  Add asparagus; cook 3 minutes or until crisp-tender.  Remove asparagus from water with tongs or slotted spoon, reserving water in pan.  Plunge asparagus into ice water; drain and set aside.  (I just put the asparagus in a colander and rinsed with cold water.)
3.       Return reserved water to a boil.  Add orzo, and cook according to package directions, omitting fat and salt (… or not… I kept the salt).
4.       While orzo cooks, sprinkle fillet with salt and pepper.  Place fish on a foil-lined broiler pan coated with cooking spray.  Broil 5 minutes or until fish flakes easily when tested with a fork or until desired degree of doneness.  Using 2 forks break fish into large chunks.  Combine fish, orzo, asparagus, onion, and Lemon-Dill Vinaigrette in a large bowl; toss gently to coat.  Yield: 6 servings about 1 ¼ cups each.

Lemon-Dill Vinaigrette
1/3 cup feta cheese (I got the fat-free kind)
1 tbsp chopped fresh dill
3 tbsp fresh lemon juice
2 tsp EVOO
Salt/pepper
1.       Mix all ingredients in a small bowl, stirring well with a whisk.  

Thanks for your help, Pierre!
All in all, I am very pleased with this recipe.  It wasn't overly lemon-y, salmon-y, asparagus-y and it tasted really light and flavorful.  I would recommend it!  Although I am very afraid of my broiler since my stove is so old and makes rumbling fire noises - the salmon turned out OK and I didn't burn down my apartment complex.  You're welcome, neighbors. 

Check out my final product below.  Also, note the table trays my parents got me for Christmas and the lovely flowers my boyfriend got me!  For no reason!  This is why I let him eat the amazing food I make.  Actually, I make him try it first in case the results are fatal.  Just kidding...


Tuesday, January 11, 2011

Snow Day Feast

Happy Snow Day!! I just got back from the grocery store to pick up the essentials… two bottles of Bogle wine and Baked Lays Ruffles.   I walked to Publix and I made it back in one piece (and by “I”, I really mean my wine).  You’d be shocked to see what people flock to in the grocery store in crises such as these.  They were out of the usual… bread, milk, eggs, and sour cream and fat free mayo.  People can’t live two days without sour cream and fat free mayo?  Other “essentials” were gone, too: skim milk, lean cuisines, all the veggies and the cheap wine.  Don’t panic, though!! I was able to make a delicious, well-balanced meal last night and I’m here to share!
“Fried” Panko Chicken Tenders (Recipe from Cooking Light)
The Players:
1 ½ cups panko (Japanese breadcrumbs – I’m sure you could use regular but panko is much more flakey)
¼ tsp ground pepper
1/8 tsp salt
¾ cup nonfat buttermilk (which of course they were out of… skim milk substituted)
1 ½ lbs chicken breast tenders (about 12)
Cooking Spray
Cajun-Creole Dipping Sauce (Recipe below)
1.       Preheat Oven to 450
2.       Combine panko, pepper, and salt in a shallow dish.  Pour buttermilk into another shallow dish.
3.       Dip chicken in buttermilk; dredge in panko mixture, pressing firmly to coat.  Shake off excess panko mixture.  Place chicken on a wire rack; let stand 10 minutes.  While chicken stands, place a jelly-roll pan in oven to heat.
(OK… anytime I hear “jelly-roll” pan I think of Amelia Bedelia and how she rolled jelly on the floor.  My personal hero.)
4.       Coat chicken well with cooking spray.  Remove hot pan from oven; coat with cooking spray.  Arrange chicken in a single layer on pan.  Bake at 450 for 23 minutes or until chicken is lightly browned.  Serve with Cajun-Creole Dipping Sauce. 

Cajun-Creole Dipping Sauce
6 tbsp fat free mayo (I used “light” because they were out of “fat free”)
2 tbsp Dijon Mustard
1 ½ tsp fresh parsley chopped
1 tsp Cajun-Creole seasoning
1/8 tsp pepper
1/16 tsp salt
1.       Combine all ingredients in a small bowl, stirring until blended. 
I served them with asparagus and garlic mashed potatoes.  It was delicious! They didn’t brown quite as beautifully as the picture in the cookbook but they were as good as any homemade “fried” chicken fingers get.  I might’ve needed to spray them with more cooking spray to help the browning (or my apartment oven stinks). 

Also, if you were wondering where my adorable place mats came from… that would be World Market.  Thanks Mom!  They’re reversible!

STATS:
Injuries: 0
Missing Ingredients/Substitutions: Several… But it’s Snowmageddon so I had to pull a MacGyver on this recipe!
Satisfied Customers: YES very tasty!
PS: Want to see the view outside my apartment on this pretty snow day??

Saturday, January 8, 2011

I Need No-Knead Bread!

Out of everything I make, I feel most accomplished when I finish baking bread.   Whether it’s from the bread machine or spending hours kneading and letting it rise, it is the feeling of being able to make the oldest form of sustenance and the most basic cupboard staple.  I am a big fan of my bread machine and make my weekly loaf of bread every Sunday.  Thanks to my bread machine, I haven’t bought bread in months!  Crazy! 
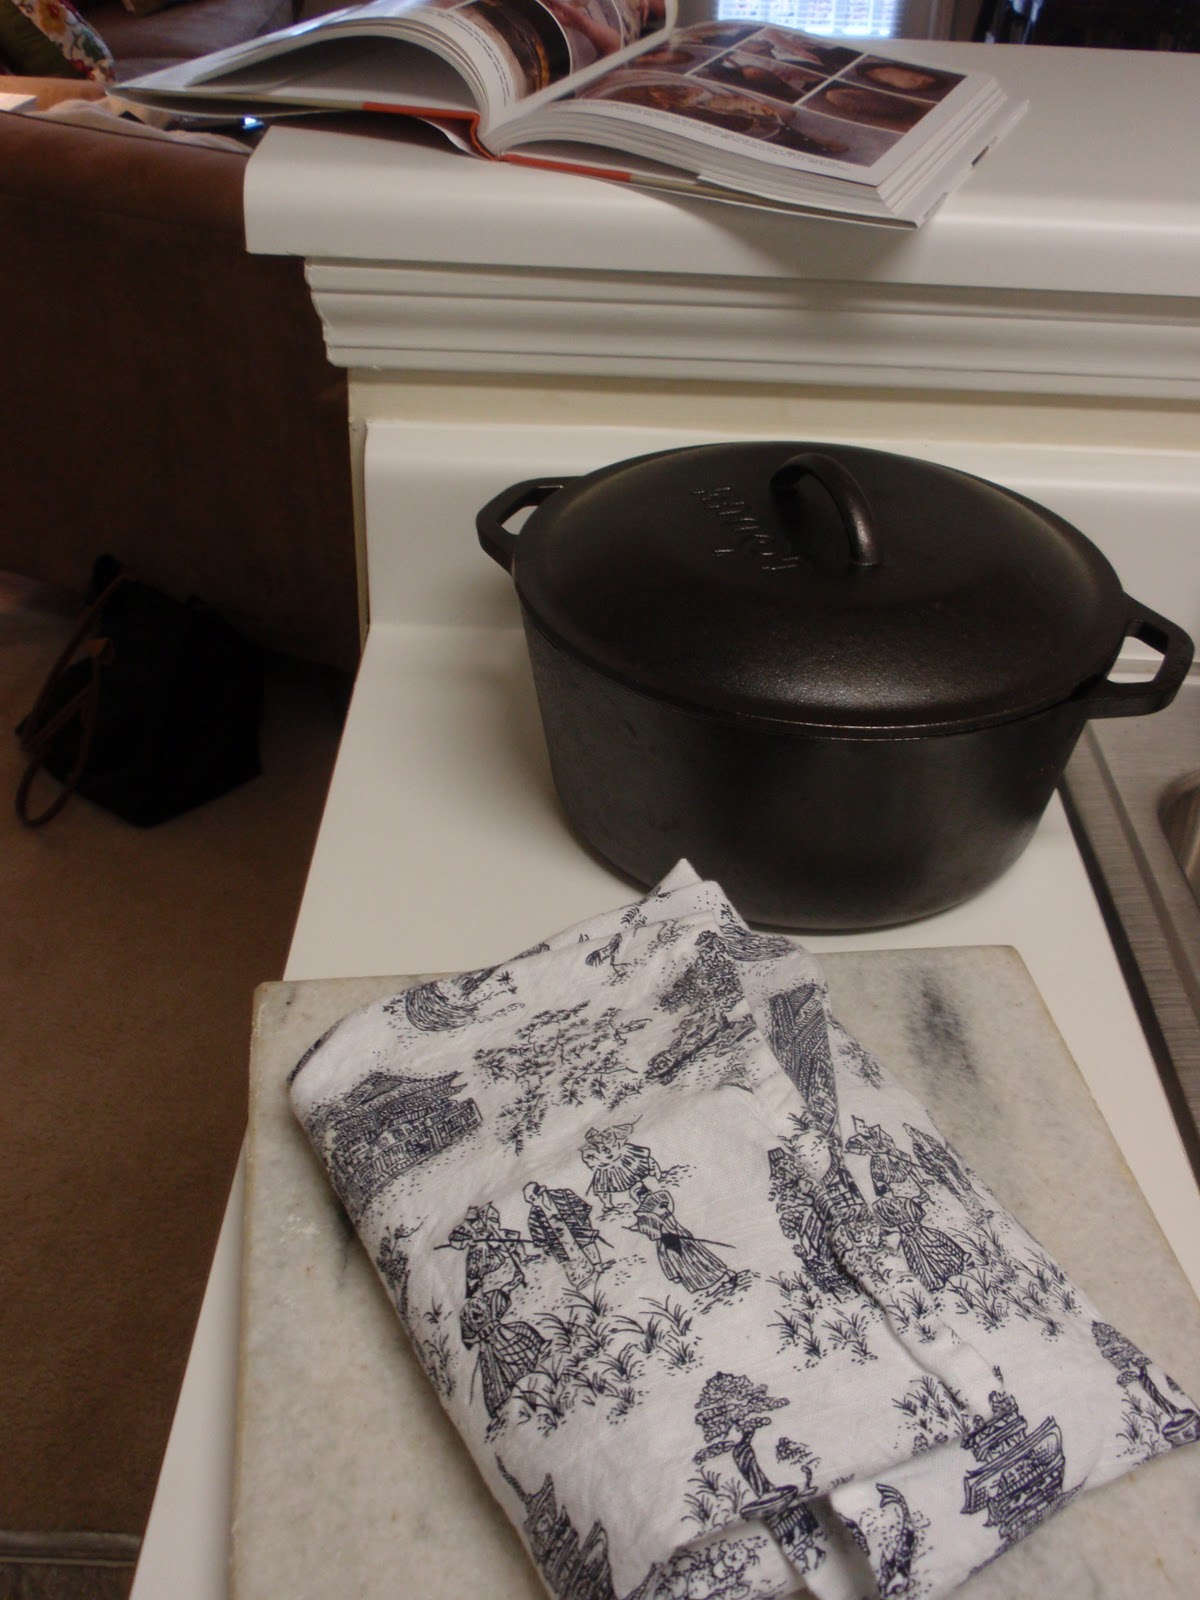
For Christmas, Santa dropped a Lodge cast-iron Dutch oven and Jim Lahey’s book “My Bread: The Revolutionary No-Work, No-Knead Method” down the chimney (just imagine the clatter that arose after that!).  Jim Lahey’s method involves letting the bread rise for 12-18 hours, having the yeast do the job of the kneader.  I highly suggest the book as it explains the magic behind baking bread.   He has many recipes in the book including Coconut-Chocolate Bread, Pizzas and Focaccias, and other food recipes.  He suggests, before attempting any of his other recipes to try the world-renowned “The Lahey Method for No-Knead Bread in a Pot” which I did and is as follows:

The Players:
3 cups of bread flour
1 ¼ teaspoons of table salt
¼ instant or other active dry yeast
1 1/3 cups of cool water
wheat bran, cornmeal or additional flour
The first thing I notice is the amount of yeast required compared to the machine bread.  I believe it has to do with the 18 hours of rising so it is unnecessary to use as much yeast (1 ¼ in most cases) – you don’t want your bread to become the Incredible Hulk.  Also, Lahey (as well as all other bakers) suggests you use a food scale.  Well, I don’t have one and since he mentioned there is a lot of leeway when it comes to his recipe, I didn’t worry about not using one.  The only thing I needed to vary was the amount of water.  It seemed like I needed a good ¼ cup more but that could’ve been because I didn’t use weight as a measurement for the flour resulting in too much.  
1. In a large bowl combine flour, yeast and salt. Add the water, and stir until blended; dough will be shaggy and sticky. Cover bowl with plastic wrap. Let dough rest at least 12 hours, preferably about 18, at warm room temperature, about 70 degrees.

2. Dough is ready when its surface is dotted with bubbles. With a bowl scraper or rubber spatula, scrape the dough onto a gently floured work surface.  When you pull the dough out of the bowl you will notice long, thin strands which represent the developed gluten – a good thing so you do not need to add additional flour!  Using just enough flour to keep dough from sticking to work surface or to your fingers, gently and quickly shape dough into a ball folding the dough into itself.

3. Generously coat a cotton towel (not terry cloth) with flour, wheat bran or cornmeal; put dough seam side down on towel and dust with more flour, bran or cornmeal. Cover with another cotton towel and let rise for about 2 hours. When it is ready, dough will be more than double in size and will not readily spring back when poked with a finger.


4. At least a half-hour before dough is ready, heat oven to 450 degrees. Put a 6- to 8-quart heavy covered pot (cast iron, enamel, Pyrex or ceramic) in oven as it heats. When dough is ready, carefully remove pot from oven. Slide your hand under towel and turn dough over into pot, seam side up.  Cover with lid and bake 30 minutes, then remove lid and bake another 15 to 30 minutes, until loaf is beautifully browned. Cool on a rack.


This recipe is so easy!!  The only difficult part is planning your 18 hours.  If you start it at 9PM and let it rise it should be finished about 3PM the next day.  This is best done on the weekend.  I love this recipe.  When the bread comes out of the cast-iron pot it tastes as if you were camping (and some shmuck besides you had to carry the cast iron pot) and it was fresh off the fire.  This bread is crusty and crunchy on the outside and after cooling an hour has a delicious, perfect center.  I rarely have things turn out like they do in the pictures but this bread is picture-perfect!  As a side note: the book has the most beautiful and mouth-watering pictures of bread.

Try the recipe.  Buy the book.  I highly recommend both.  Thanks Santa!!!  I will be baking other recipes from the book eventually and will post those, as well!!

STATS:
Injuries: 0
Missing/Incorrect Ingredients: 0
Satisfied Customers: Everyone Loved It!!

Thursday, January 6, 2011

The beginning...

This is my blog!

I'm new at this cooking thing and decided to document my journey through the kitchen chaos. My boyfriend put it best - everytime I'm in the kitchen its a battle.  So, my friends and followers, this is my war diary, blow-by-blow, my own personal wikileaks, if you will.  You have access to it all... my bread, sweat, and tears!  Let's hope we all survive...

<a href="http://www.bloglovin.com/blog/2433379/bread-sweat-and-tears?claim=6jd5s76et9p">Follow my blog with bloglovin</a>